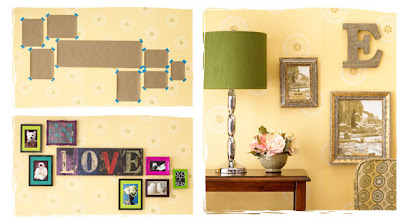
 copy via Pier 1
•Start by tracing each object’s outline onto scrap paper. Tape the cut-out pieces of paper to the wall, experimenting and re-arranging to see what composition works best.
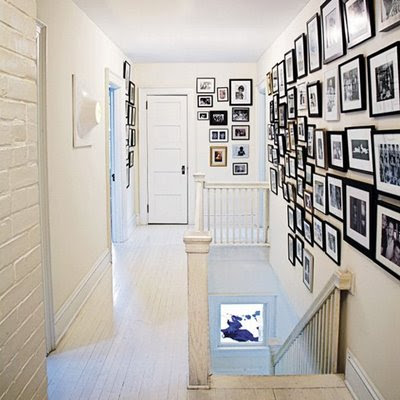
•Don’t space objects too far apart—the width of your hand is a good guide.
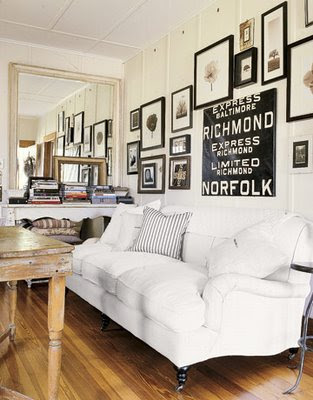
•It’s usually best to place the largest object near the center, then work outward.
•Hang the largest pieces at eye-level (about 63-66 inches above the floor).
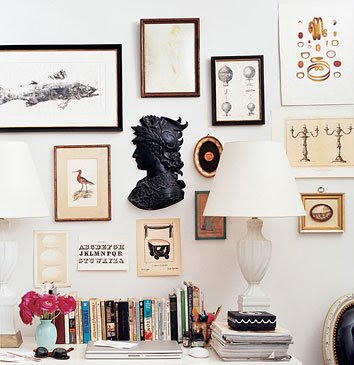
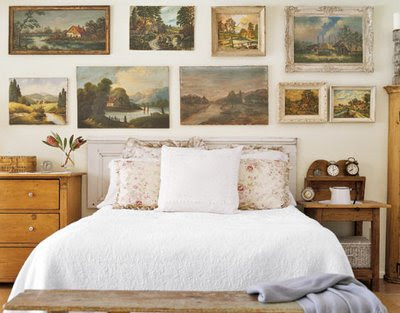
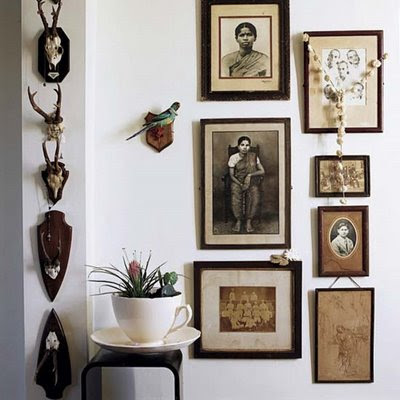
•For a unified look, choose items that incorporate the same color, frame style or subject matter.
Tips for hanging one large piece.
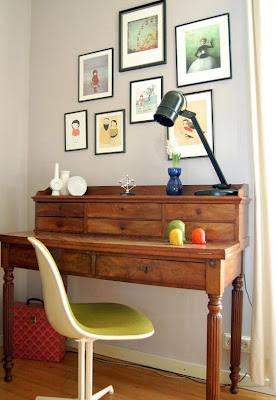
•Small items work best in small areas—a narrow wall or cozy reading corner.
•Shop your hardware store for picture-hanging kits. And, if you’re hanging something heavy, know the weight since you need to choose hooks based on the item’s size.
• Your new best friend? A level. Whether you choose a laser level or the traditional box version, this is the best way to make sure your frame is even.
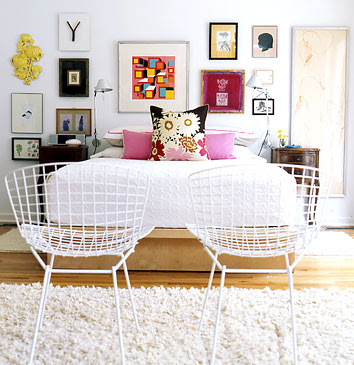
• Keep it in proportion. When hanging artwork over a piece of furniture, make sure the art is not wider than the piece underneath it. Also, leave no more than 6 inches of wall space between the furniture and art.
• Vertical or horizontal? The decision might be dictated by your desire to create height or to widen and elongate a space. But generally, vertical arrangements appear formal and dramatic while horizontal hangings feel more casual.
• Maybe you don’t need to hang it. Leaning artwork against the wall is a classic studio look and allows you to move objects around whenever you want.
copy via Pier 1
 via HGTV
 via Flickr
 via Apartment Therapy
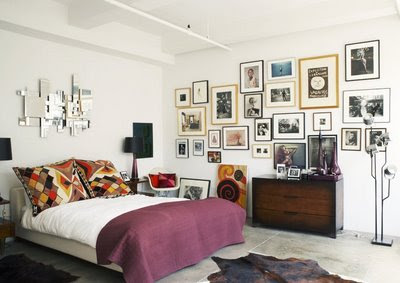 via Black Rooster decor
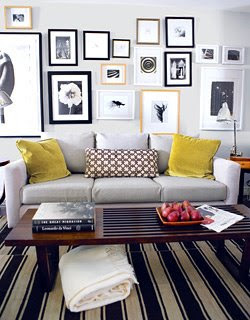 via Wish
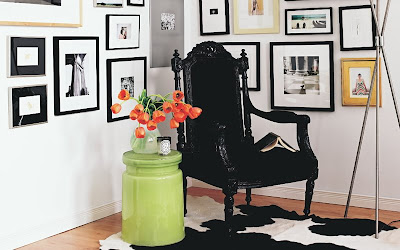 via House Hunting

0 comments:
Post a Comment